

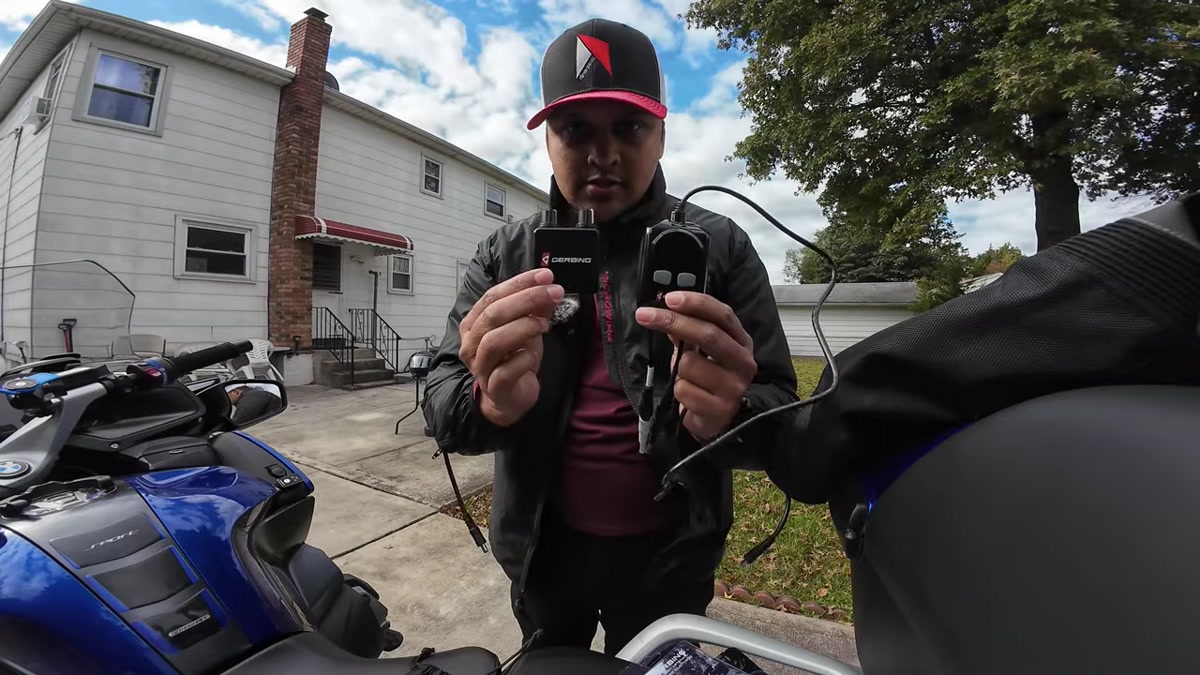
Some might say 40°F is not that cold. But at 40 mph the wind chill kicks in, and that same 40° feels more like 27. If you want to keep riding in that kind of exposure, you need good protection from the elements, and the clever way to do it is heated gear.
I run Gerbing heated gear, and the one thing I wanted to fix was controlling the heat without fiddling with wires and tiny buttons on the road. So I got the Gerbing Dual Zone Wireless Remote. It came in its own box, separate from my controller, so the two were not paired out of the box. The instructions on the box are just a chart, and even the Gerbing website wasn’t very clear. It took me about 5 minutes of figuring out. Here’s how to pair the Gerbing dual zone remote so you can skip that part.
Wireless Remote? Does It Need My Phone?
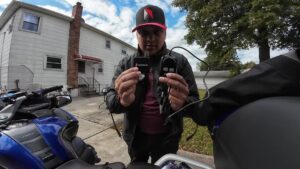
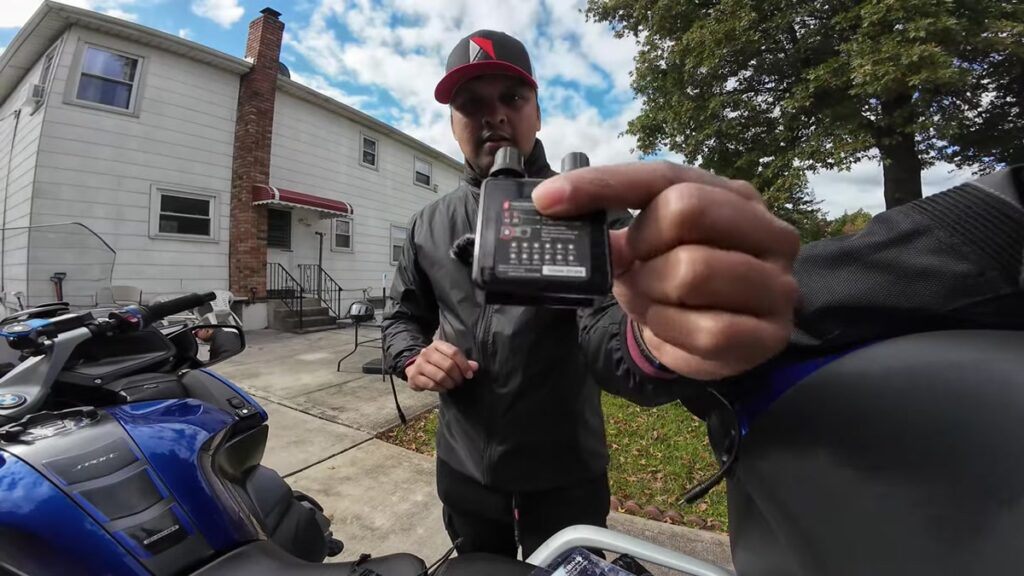
I was against the wireless controller in the beginning because I thought it connected to my phone. In fact, that’s not true. There is no phone app involved here. The remote is a small box with two physical knobs, and it talks to the Dual Zone controller that is already plugged into your gear. Put the controller in your pocket and you never have to touch its buttons again.
The knobs are nicely color coded:
- Gray knob: gloves
- White knob: jacket liner
What You Need
- Gerbing heated gear. In the video I’m wearing the Gerbing jacket liner, heated gloves, and heated pant liner.
- The Gerbing Dual Zone controller (the wireless-ready one). Its leads have tags on them too: gray for gloves, white for the jacket liner, plus a yellow accessory jack. These match the two knobs on the remote.
- The Gerbing Dual Zone Wireless Remote. This is an additional purchase. The packaging says the base unit is sold separately.
- Power from the bike. The controller hooks up to the power output port on your motorcycle.

Getting to Know the Controller
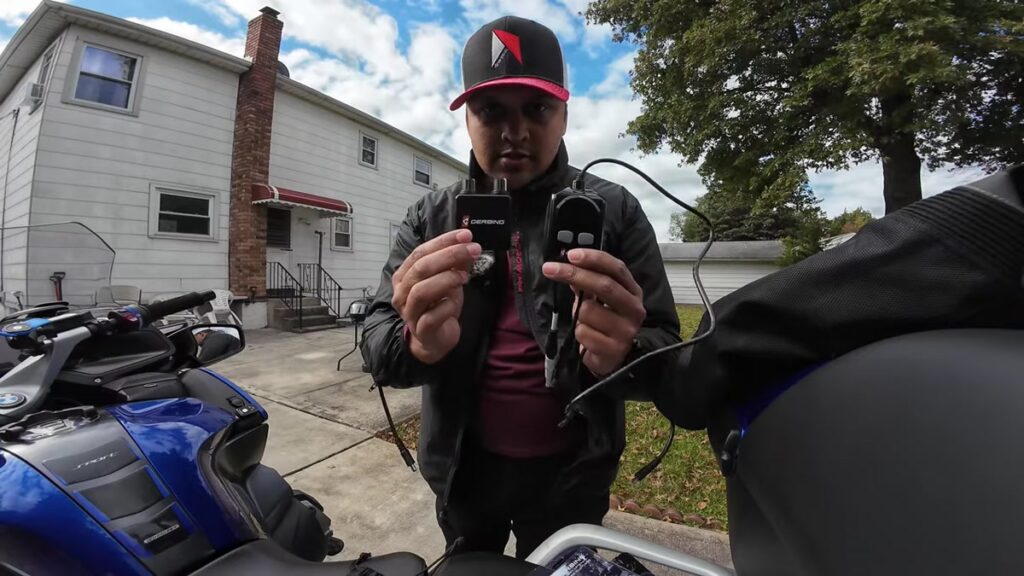
Before pairing, a quick look at the controller. When you hook it up to the output port it blinks a couple of times. The instructions on the back explain two codes you may see on the display:
- Lo: low voltage, meaning the voltage from the battery is less than 11 volts.
- E: over-current protection, meaning you have too many accessories daisy chained. It’s a great thing that this is built in.
Each zone has its own on/off and set button (two-way separate control). The one that goes to white is the on/off switch for the jacket. One click didn’t do anything for me. Click and hold, and the display shows 1. That’s when my jacket started heating up.
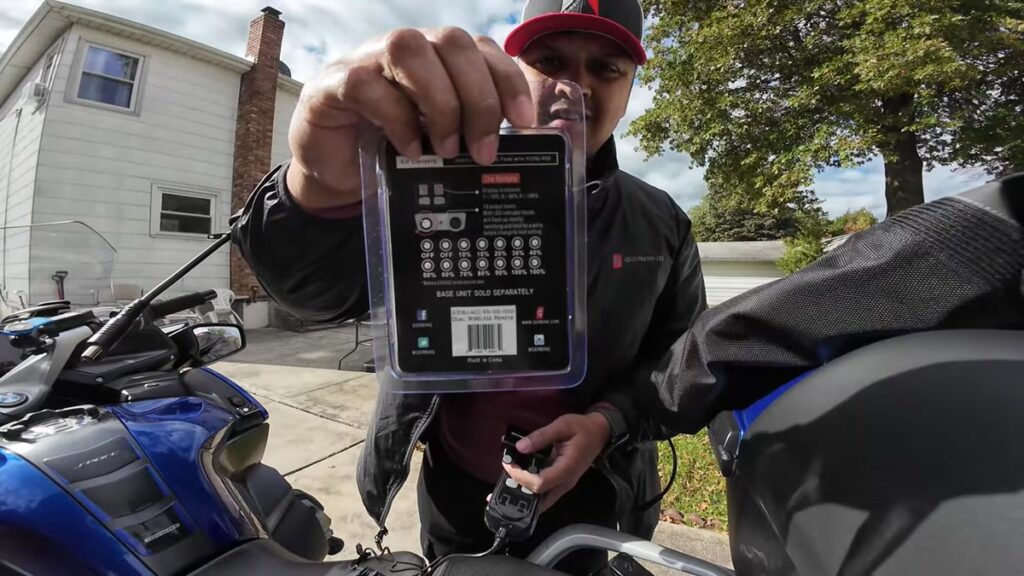
How to Pair the Gerbing Dual Zone Remote, Step by Step
This is exactly what worked for me in the video:
- Plug the controller in. Hook the Dual Zone controller up to the power output port. It blinks a couple of times.
- Turn the controller on. Click and hold the on/off button until the display shows 1. (A single click didn’t do it.)
- Press both buttons on the controller at the same time. The instructions say press and hold for 3 to 4 seconds, but for me it was way quicker. As soon as I pressed both together, an “A” started flashing on both displays.
- Quickly turn one of the knobs on the remote. Do this while the A is still flashing, because it goes away fast if you don’t do anything. Either knob works.
- Done, they’re synced. The flashing display goes away and the remote is paired. Turn the white knob and the jacket goes to 1, and turn it further for more heat. I went up to 4 and I was feeling the heat already.
Tip: If the A disappears before you turn a knob, just press both buttons again. You have to be quick with step 4.
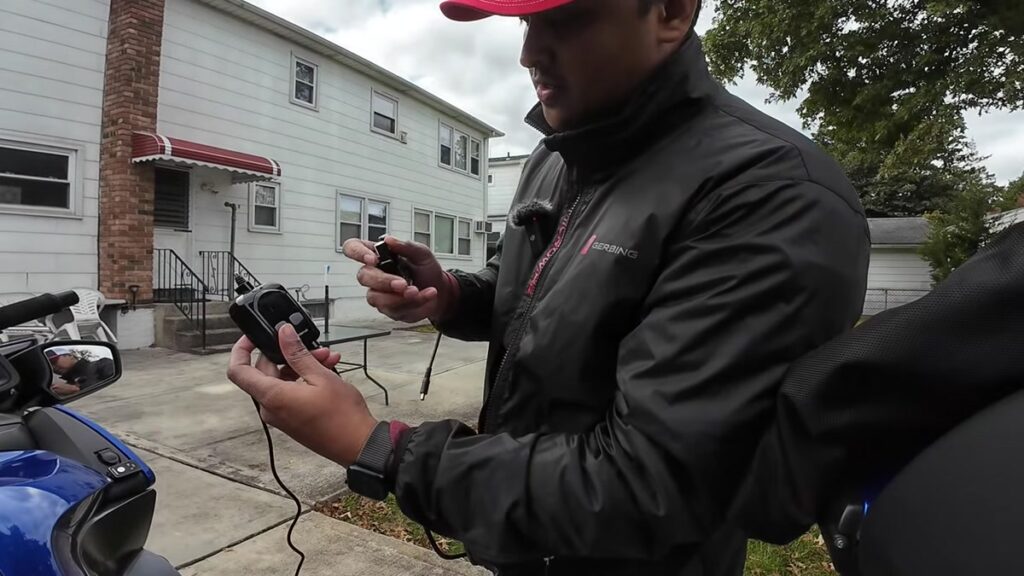
Using the Remote After Pairing
Go easy on the knobs. The only recommendation Gerbing makes is to take it slow when you change the heat level. Change it, stop turning, wait a couple of seconds, then turn it again if you need more.
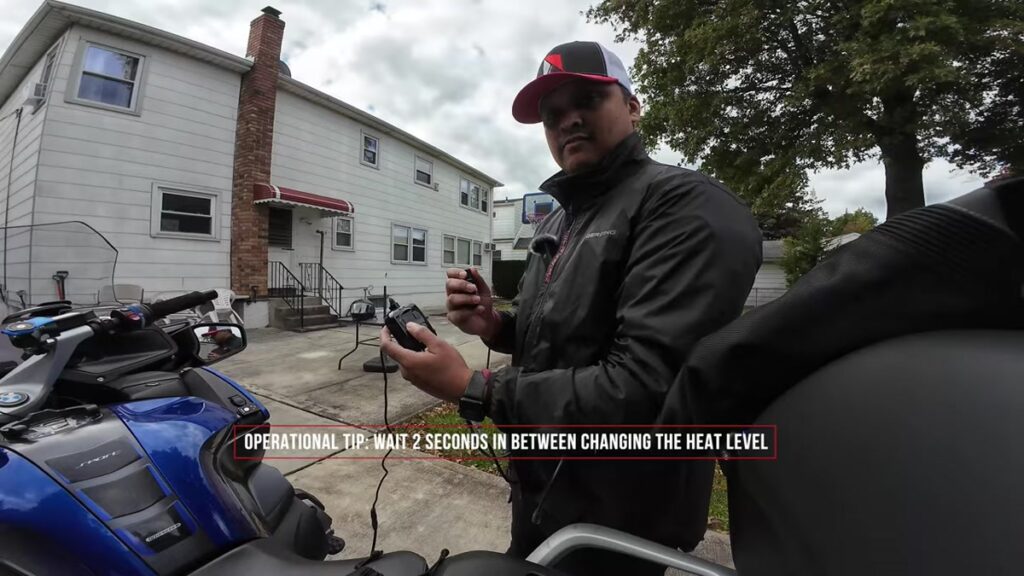
Each knob is its own zone. I set my jacket on 6 and my gloves on 2, and they both kept working independently.
Heated pants go on the yellow accessory jack. My heated pant liner has the accessory jack too. I wanted to see whether the pants would follow the jacket or the gloves, and I was kind of hoping for the gloves, because your jacket heats totally different from what you need in your gloves. It turned out the pants follow the gloves (gray) heat level, not the jacket. Exactly what I wanted.
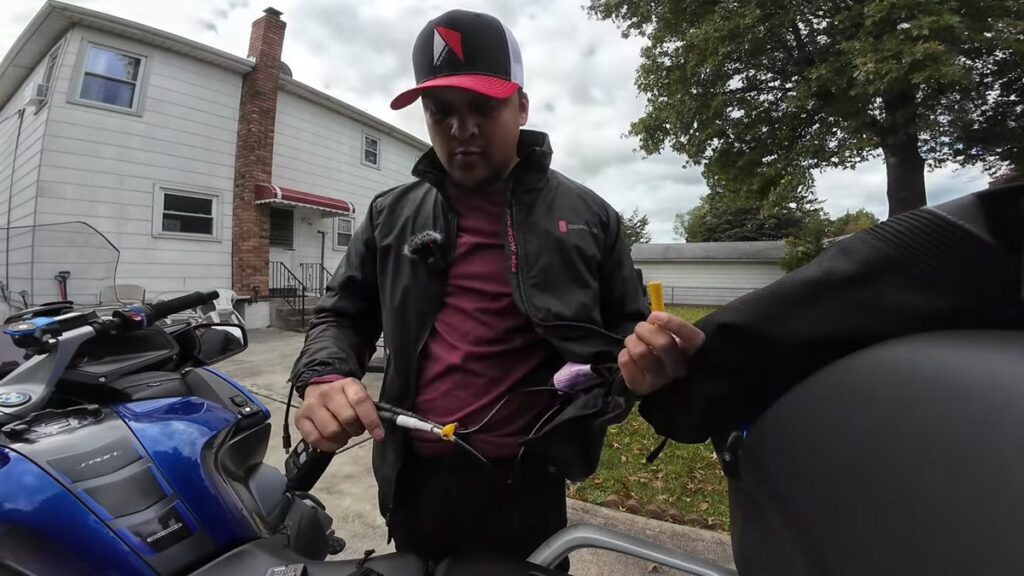
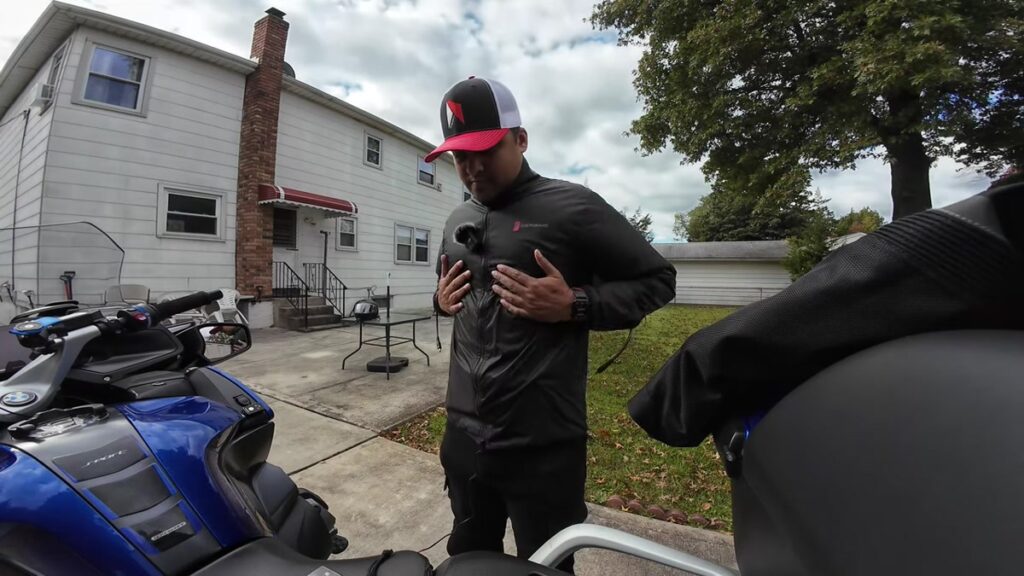
Hide the controller, keep the remote handy. The remote can go anywhere you can see it and easily reach it. The controller and its cables can go inside the jacket liner pocket. I know cables are freaking ugly, I hate them, but this way I zip everything up and there is just one cable coming out.
Troubleshooting
- The A goes away before anything pairs. It times out quickly. Press both buttons again and turn a knob on the remote right away.
- Holding for 3 to 4 seconds isn’t needed. In my case the A started flashing the moment both buttons were pressed.
- A single click doesn’t turn the controller on. Click and hold the on/off button.
- Heat isn’t right, or you messed something up. Turn everything off and turn it back on again. That seems to work.
- Heat changes feel laggy or jumpy. Wait a couple of seconds between changes.
- You see Lo on the display. That’s the low-voltage warning (battery under 11 volts).
- You see E on the display. That’s over-current protection. You may have too many accessories daisy chained.
- Getting off the bike. Don’t touch the heat or anything else, just unplug the one cable. When you plug it back in, the heat goes back to what it was before. In my case that was 8 for the jacket and 2 for the gloves and pants.
Is It Worth It?
For me, yes. My main goal was to not be distracted. I wanted something simple I can put anywhere, that lets me see clearly what heat level I’m getting and adjust it as I please without being distracted on the road. Physical knobs do exactly that.
And you do need to adjust the heat. When you slow down, stop for lights, or sit in traffic, you’re not getting blasted by cold wind and don’t need as much heat. On the highway at 70 mph with all that cold wind, you probably need to turn it up.
- Controls: two physical knobs, one per zone, and you can see where they’re set at a glance.
- Phone: not needed. No app.
- Pairing: easy once you know the trick, but the instructions are not very clear.
- Cables: controller hides in the liner, one cable out.
- Cost: it’s an additional purchase on top of the controller (more on that in my heated gear guide below).
Wrapping Up
To pair the Gerbing dual zone remote: plug in and turn on the controller, press both controller buttons together, and quickly turn a knob on the remote while the A is flashing. That’s it. Easy peasy once you know it.
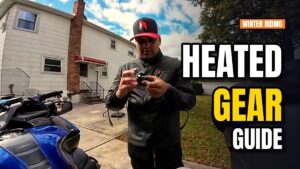
If you’re still deciding on heated gear, check out my Heated gear guide you were looking for, and my Gerbing vs Hotwired comparison to see how the two leading brands stack up on controllers, heat zones and price. I also have a video on Motorcycle Heated Gear. Things to consider.
Watch the full video above to see the pairing happen live. Do you use heated gear? Do you ride in winter? Let me know in the comments. Let’s help the community make the right choices, that’s what this whole channel is about. If you got any value out of it, leave a thumbs up and subscribe at youtube.com/@ninerpeak.
Stay toasty! Keep riding!! Stay Safe!!!
Gerbing Gear
This is the gear I am using. These are affiliate gear links, they cost nothing more to you but help run the channel 🙂
- Heated Liner: https://imp.i104546.net/nL3rK9
- Heated Pant Liner: https://imp.i104546.net/R5jg9R
- Heated Gloves: https://imp.i104546.net/4PDONr
- Dualzone Wireless Ready Controller: https://imp.i104546.net/75rRNd
- Dual Zone Wireless Remote: https://imp.i104546.net/Y9GEaB