June 16th, 2025: As of this update, DJI still hasn’t added support to control two cameras from the Turned OFF state with the DJI Bluetooth Remote. Additionally, the timeout for Bluetooth connections is still 30 minutes and cannot be configured.
GoPro has had this feature for a while now but now DJI is venturing into this territory. Although the feature exists, there is no good buide for how to achive this issue.
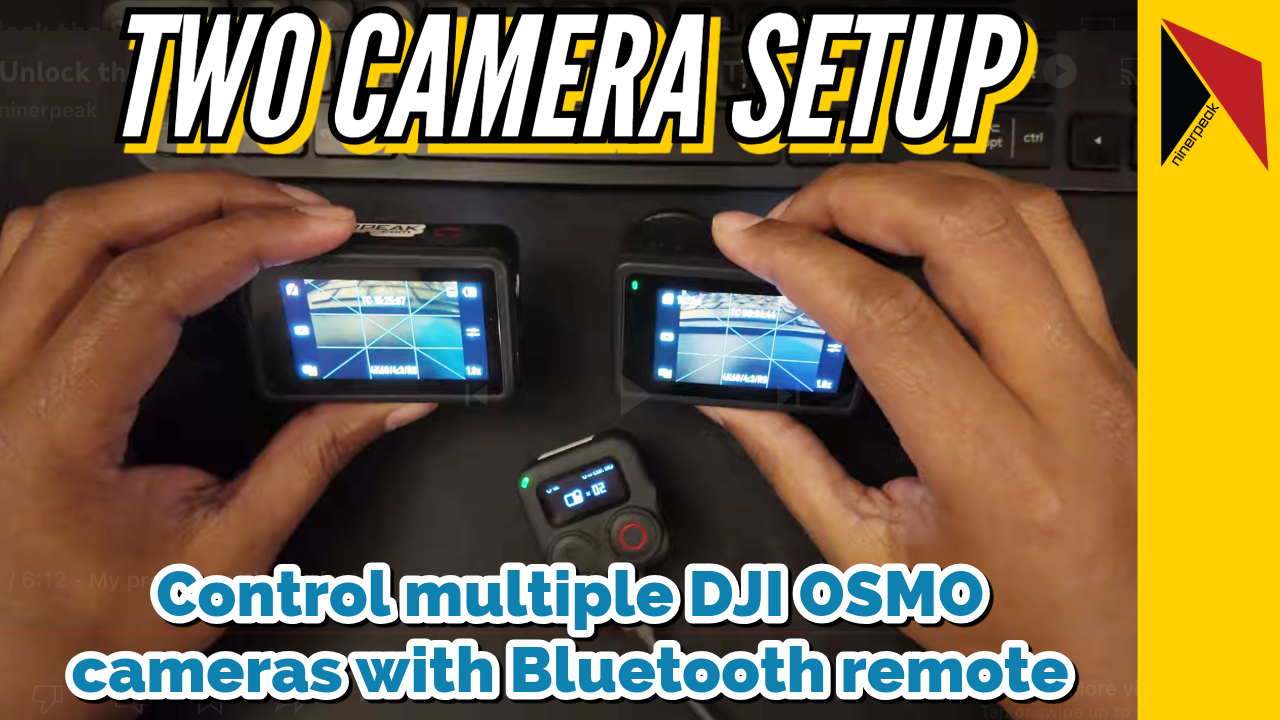
Setting up the hardware for multi-cam
- Step 1 – Upgrade firmware
- Make sure that all cameras to be controlled are on the latest firmware.
- Make sure that the bluetooth remote is also on the latest firmware.
- Do this ahead of time and not when you are actually ready to shoot. Firmware upgrades can take upto 10-15 mins for all the devices involved.
- Step 2 – Connect first camera to the remote
- This example is going to be for two camera multicam setup.
- Turn on both the bluetooth remote and Camera 1.
- To sync Camera 1, click and hold the sync button on the remote.
- Camera 1 will show the same code as your remote with option to accept or reject the connection. Tap on ‘Accept’
- Turn off Camera 1 and the remote. This is an important step however you may not need to turn off the remote.
- Step 3 – Connect second camera to the remote
- Turn on both the bluetooth remote and Camera 2.
- To sync Camera 2, click and hold the sync button on the remote.
- Camera 2 will show the same code as your remote with option to accept or reject the connection. Tap on ‘Accept’
- Step 4 – Multicam mode
- Turn on all devices. Camera 1, Camera 2 and the bluetooth remote. If you are following this tutorial, Camera 2 and bluetooth remote should both already be on.
- Click and hold both Record and Link buttons on the remote together for 3-4 seconds.
- The remote will change the mode from single-cam to multi-cam.
- Step 5 – Successful connection
- Once the remote is in multi-cam setup it will show indication that it is connected to both cameras successfully.
Controlling the multi-cam setup
- To record, press the record button on the remote once.
- To stop recording, double press the record button on the remote.
- To change mode, press the QS/Power button once.
- To take picture, press the record button once when the cameras are in the picture mode.
- To turn off the remote, press and holde the QS/Power button.
Things to keep in mind
- Multi-cam setup does not turn on/off the camera.
- You can change the camera mode from remote.
- Remote range is that of bluetooth 4.2. On paper it is 80 ft. I have used it around 25-30 ft without issue.
Eventhough this is good take on multi-cam setup by the chinese manufacturer DJI, it is far from the final product and rather looks like a rushed feature so that they can say “we also have it!”.
Ahh you made it rather quick down here, you must be a fast reader or not a reader at all. Here is a video that goes through all the steps above.
This video below will walk you through the first impressions of the bluetooth remote.